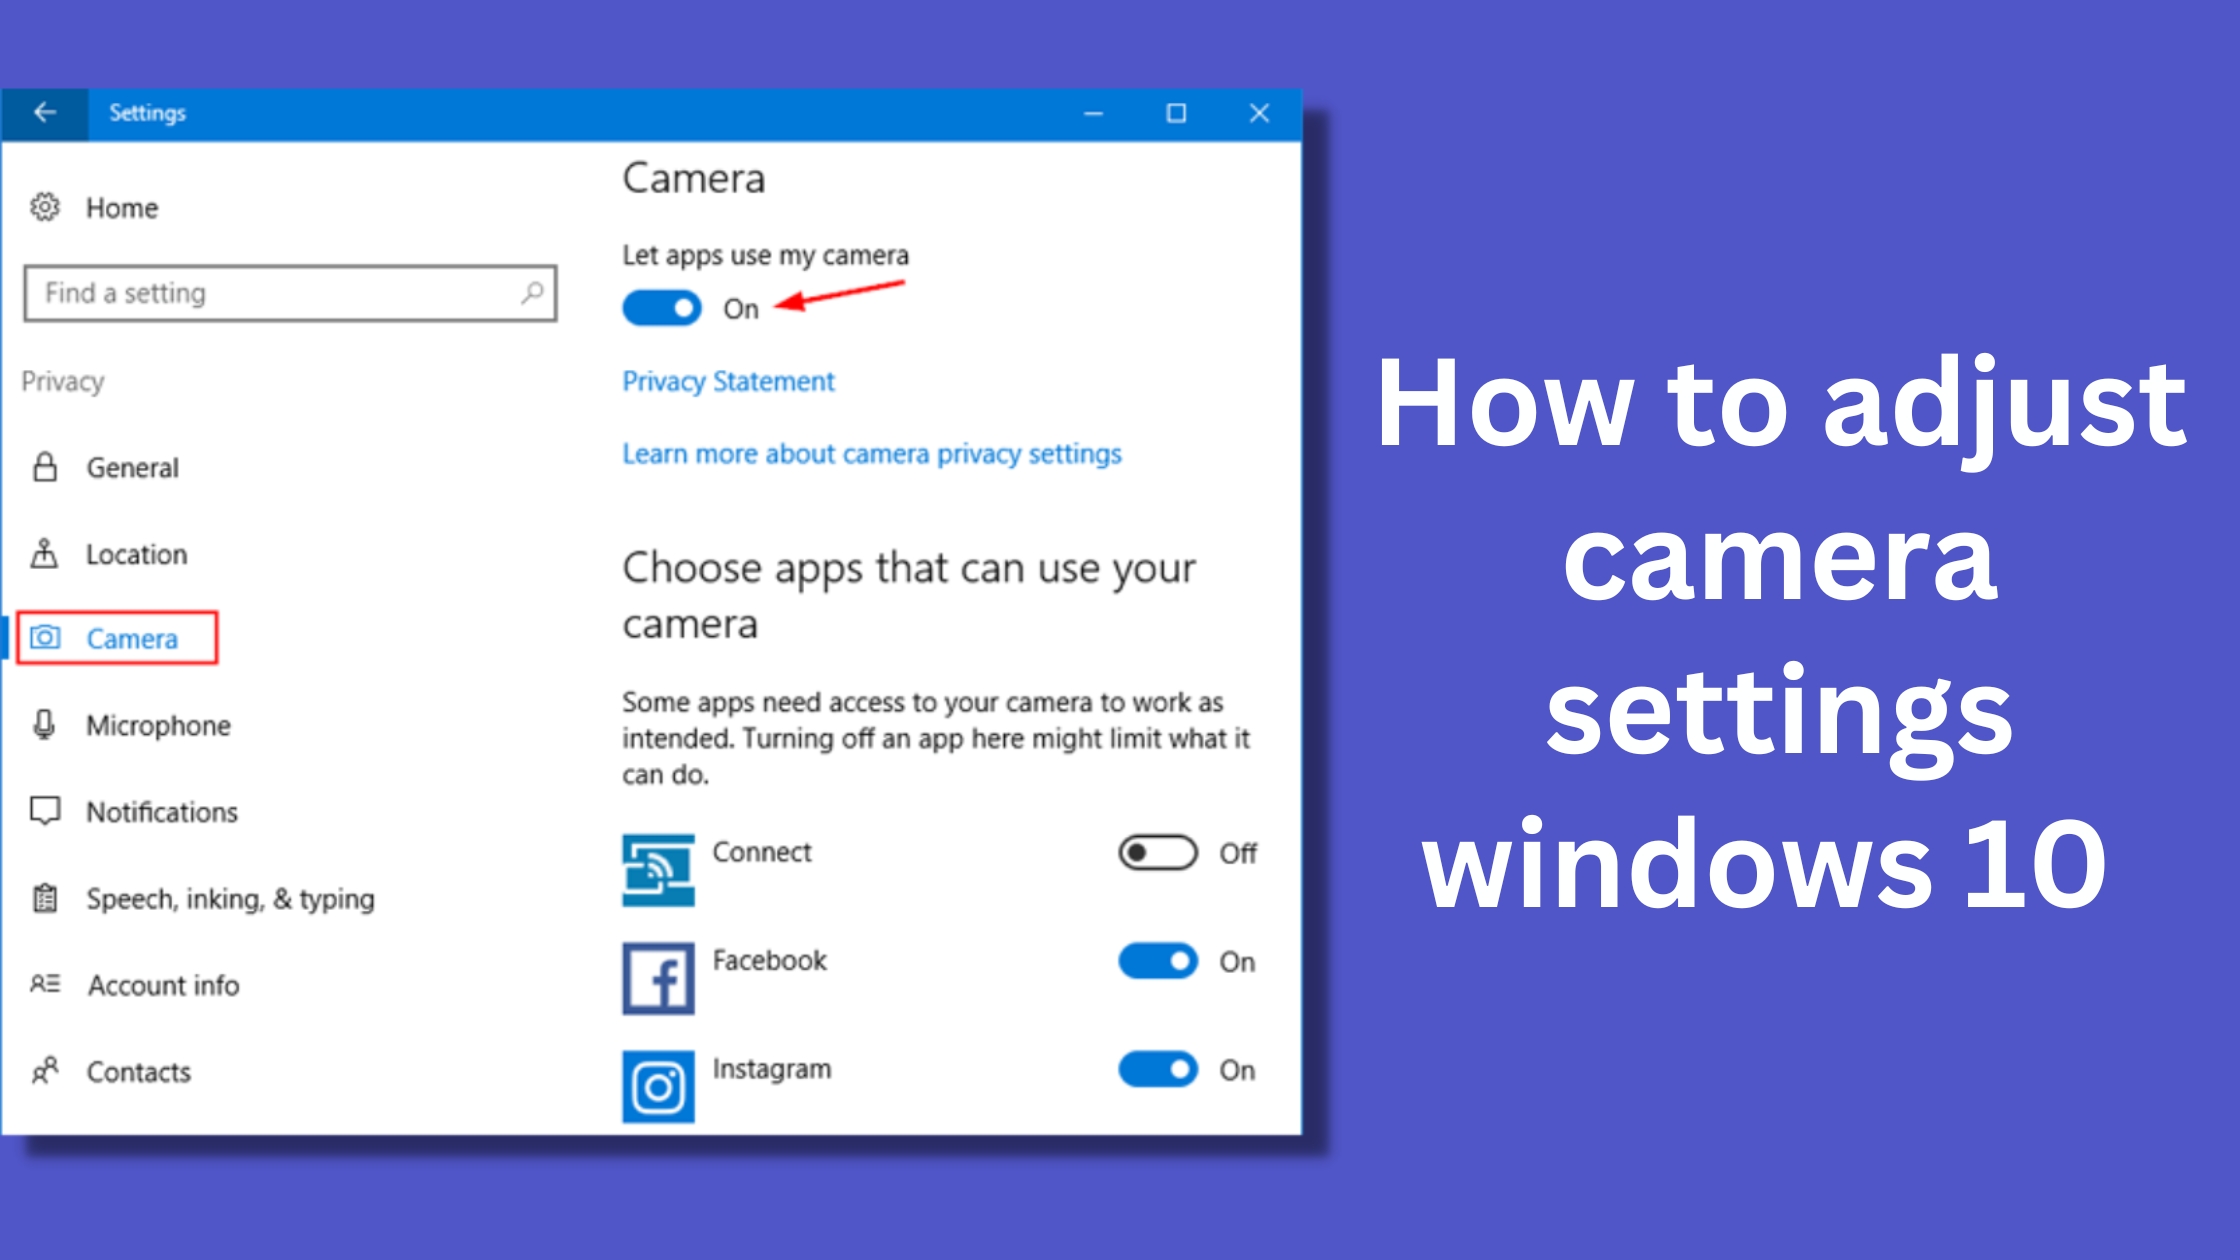
Want to know How to adjust camera settings to windows 10? Keep on reading this article on the topic of How to adjust camera settings to windows 10. We will explain everything in detail.
How to adjust camera settings to windows 10
In contrast to smartphone cameras, PC cameras are primarily used for video calls. Smartphone users use their phone cameras to take photos, videos, and video calls. PC users rarely capture photos and videos.
For better picture/video quality, you might want to change the default settings of your Windows 10 computer’s built-in camera or external webcam, such as brightness and contrast.
The built-in camera app does not offer most of the features you find in a dedicated camera app. It only offers basic settings.
However, you can change the brightness and contrast settings.
Windows 10 camera settings can be changed via Settings
1. In the Settings app, go to Devices > Cameras.
If the camera driver is not installed or your build is older than 21354, the Cameras page may not appear.
2. On the Cameras page, all cameras connected to your PC are displayed, including the built-in webcam.
Click on the camera’s entry and then click Configure to change its settings.
3. In the picture below, you can move the sliders to change the brightness and contrast settings.
1. How to turn on the camera on a laptop windows 10
What you need to do to turn on the webcam in Windows 10
- The Windows Camera App can be opened by pressing Win + S, typing “Camera”, and selecting the appropriate option.
- When you do so, the camera will automatically start.
- If the camera isn’t working in a third-party app like Zoom, check if the app has the required permissions.
- The camera permissions can be checked by going to Settings > Privacy and selecting Camera.
- Scroll down and toggle the slider to give or revoke camera permission to third-party apps.
- Try turning on the camera again. If it still doesn’t work, you will need to troubleshoot.
It’s Easy to Manage Cameras in Windows 10
Managing your webcam in Windows is quite straightforward. You just need to keep everything up-to-date, including the webcam drivers.
2. Laptop camera not working windows 10
Follow these troubleshooting steps to resolve the webcam issue on Windows 10 quickly.
Despite Windows 10’s ability to automatically configure most cameras, it does not imply that they will continue to operate with issues indefinitely. A peripheral can stop working for a variety of reasons, such as a driver issue, a recent system update, privacy settings preventing access to the camera, or a hardware issue.
You can fix most issues with your built-in webcam on your laptop or USB camera on a desktop computer by using Device Manager, Settings, or adjusting the software privacy settings in Windows 10.
3. Install camera driver windows 10
- On Windows 10, press Windows + X and click Device Manager to open it.
- You can expand Imaging devices, Cameras, or Sound, video, and game controllers in Device Manager.
- Right-click your webcam and select Update driver.
- Install the latest webcam driver software on Windows 10 by clicking Search automatically for updated driver software.
Search for ‘camera’ in the Start menu, and select the best match. Select the settings icon from the top-left corner. From here, you can change features such as the frame grid, photo quality, video quality, and time-lapse.
If you want to allow apps to access the camera, go to Start > Settings > Privacy & security > Camera, and turn on Camera access.
Select Cameras, Imaging devices, or Sound, video, and game controllers to find your camera. Select Scan for hardware changes from the Action menu if you cannot locate your camera. After scanning and reinstalling updated drivers, restart your device and try opening the Camera app again.
In the Start menu, type manage cameras, and then select Manage cameras from the results. When you select the camera from the list of connected cameras, Windows will start the camera, show a preview, and allow you to make adjustments.
Open the Camera app by clicking the Start button, selecting All apps, and selecting Camera from the list of apps. You can switch between multiple cameras by selecting Change Camera at the top right of the app.
By right-clicking on the image and selecting “Properties” or “Get Info,” you can see the resolution just by looking at the file size. For example, a webcam with a 1080p video resolution will have a 1080p height.
In this case, the problem may be caused by a weak Internet connection. If you’re using a weak internet connection, it can disrupt the video quality and cause lag.
The three most common webcam resolutions, from lowest to highest, are 1280 x 720 pixels/720p (HD Ready), 1920 x 1080 pixels/1080p (Full HD), and 3840 x 2160 pixels/4K (UHD).


